
Subaru Forester Sports Amber Auxiliary Light Kit
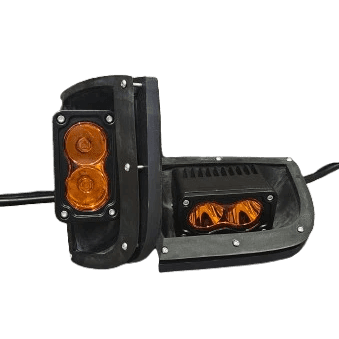
Flush-mount amber lights for the SG Sports bumper — print the parts, then either copy the lights I used or fit your own.
Product Description:
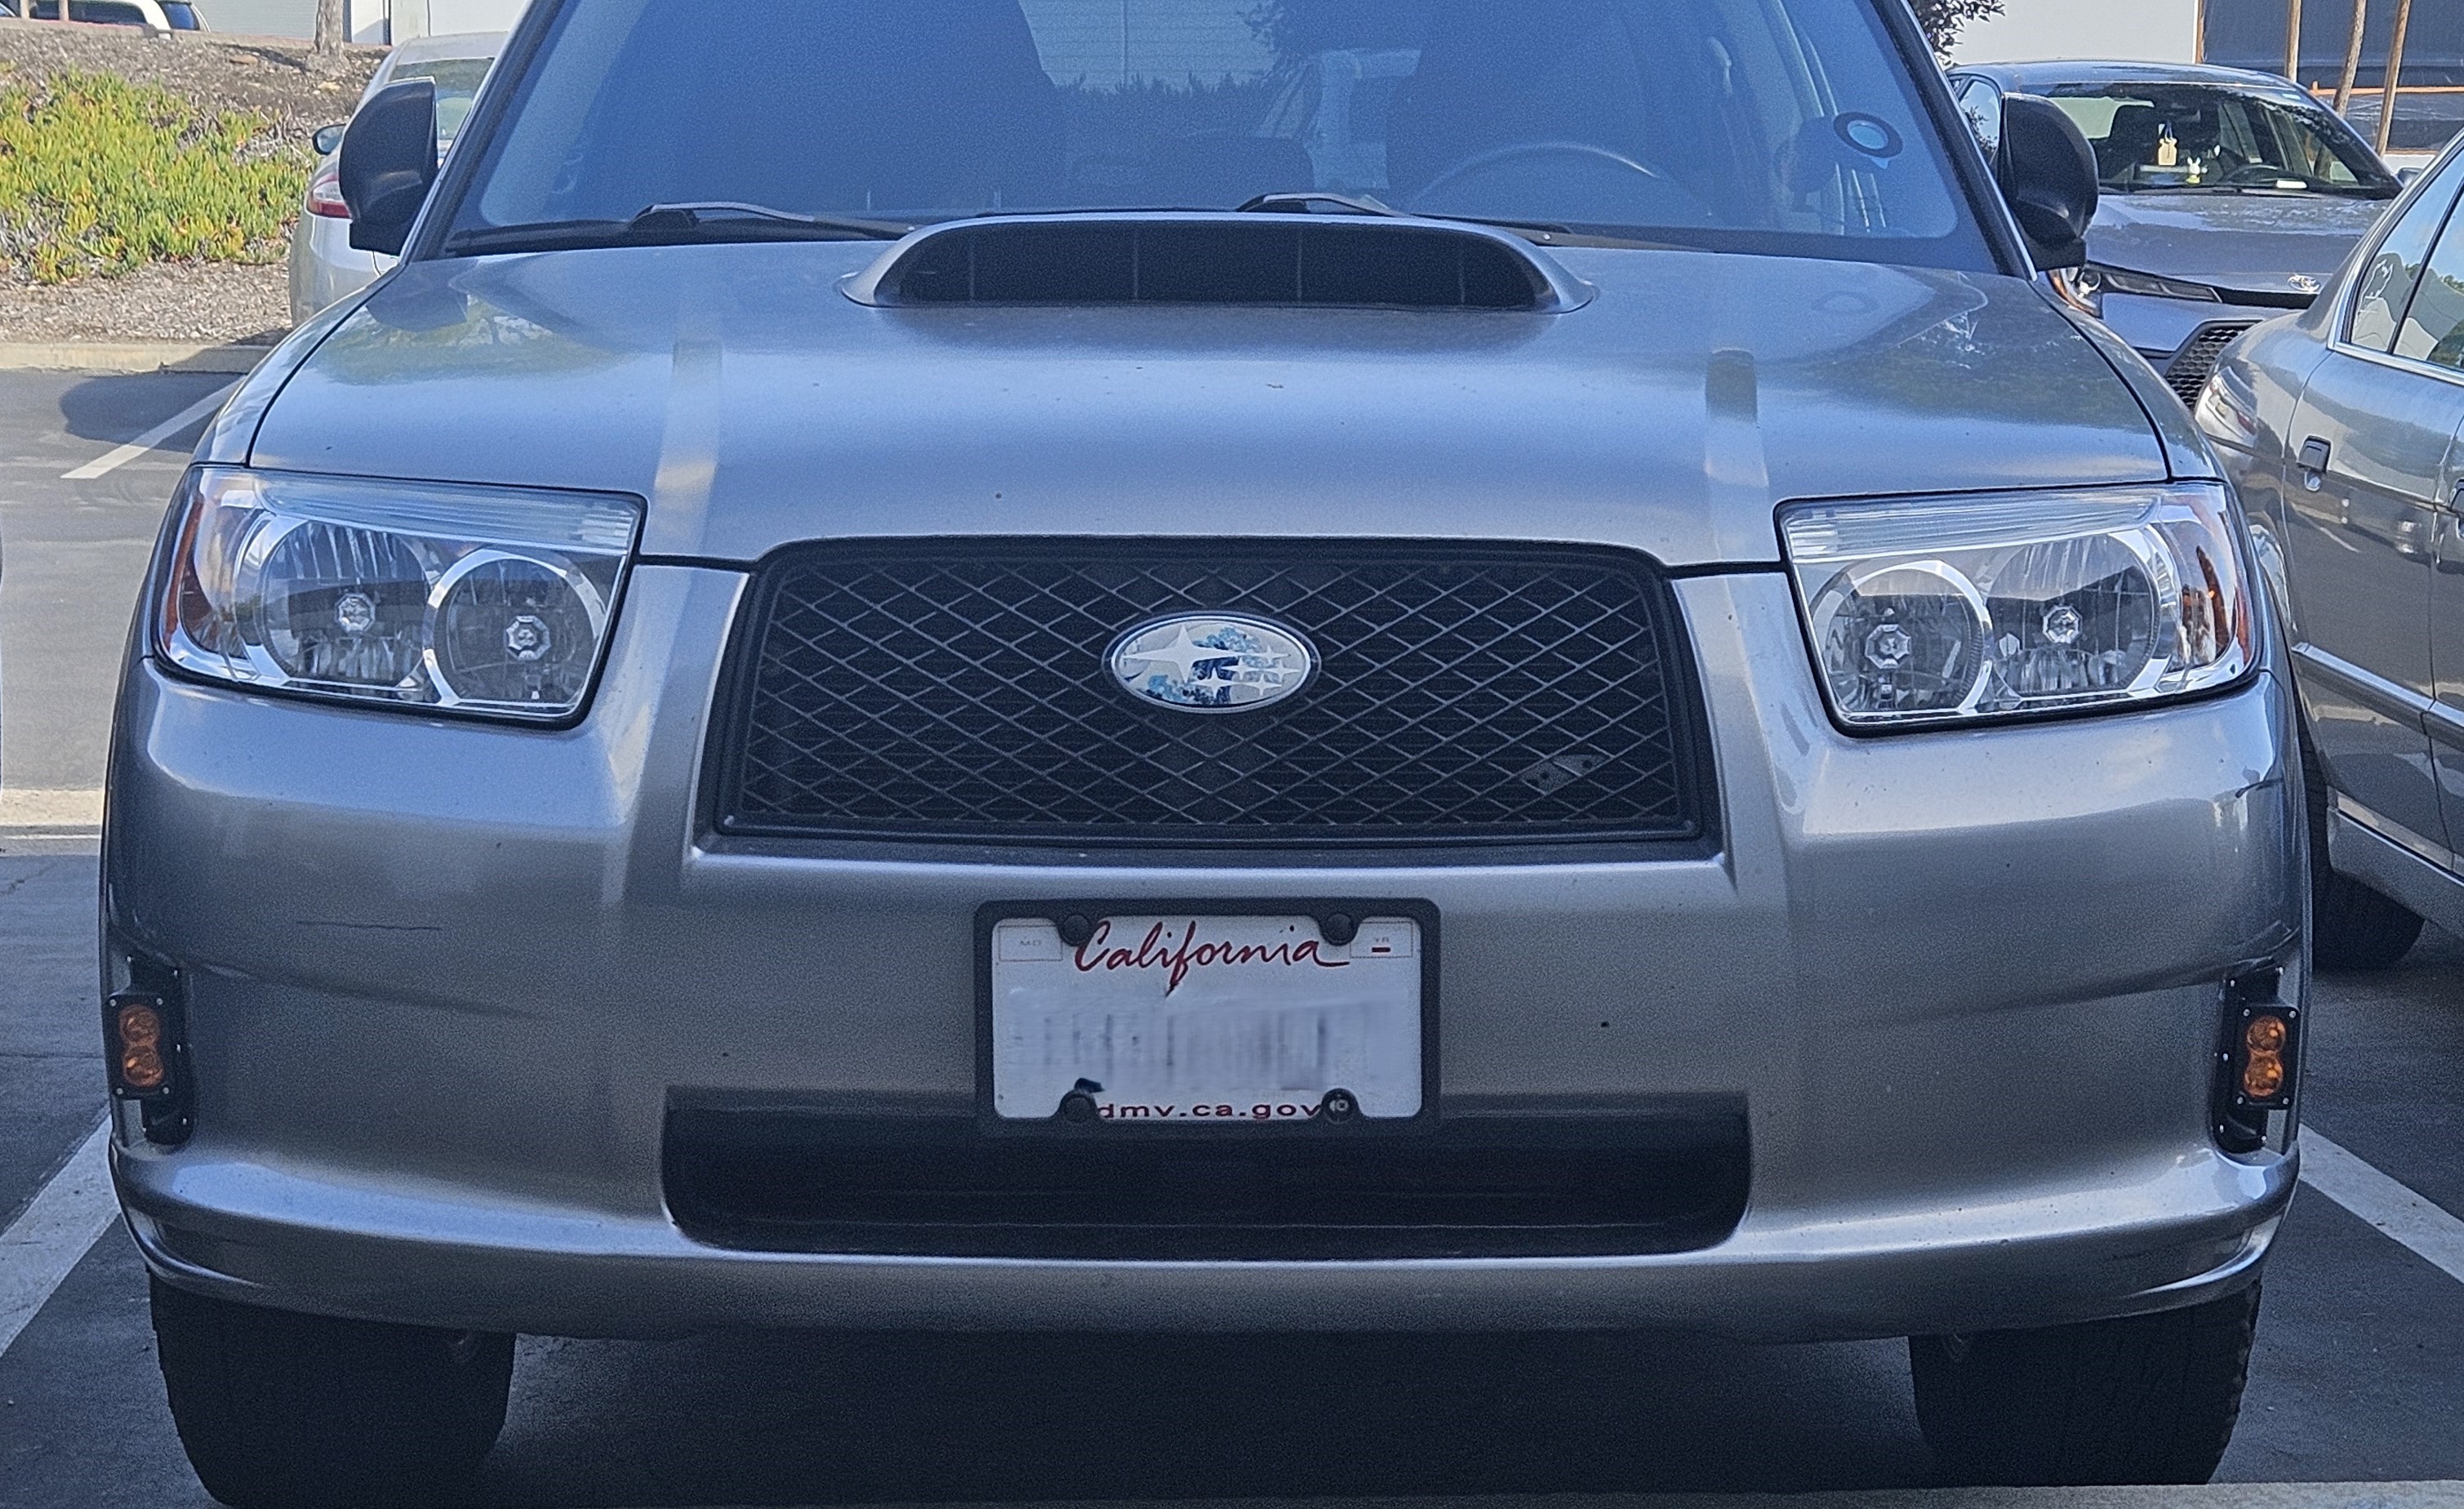
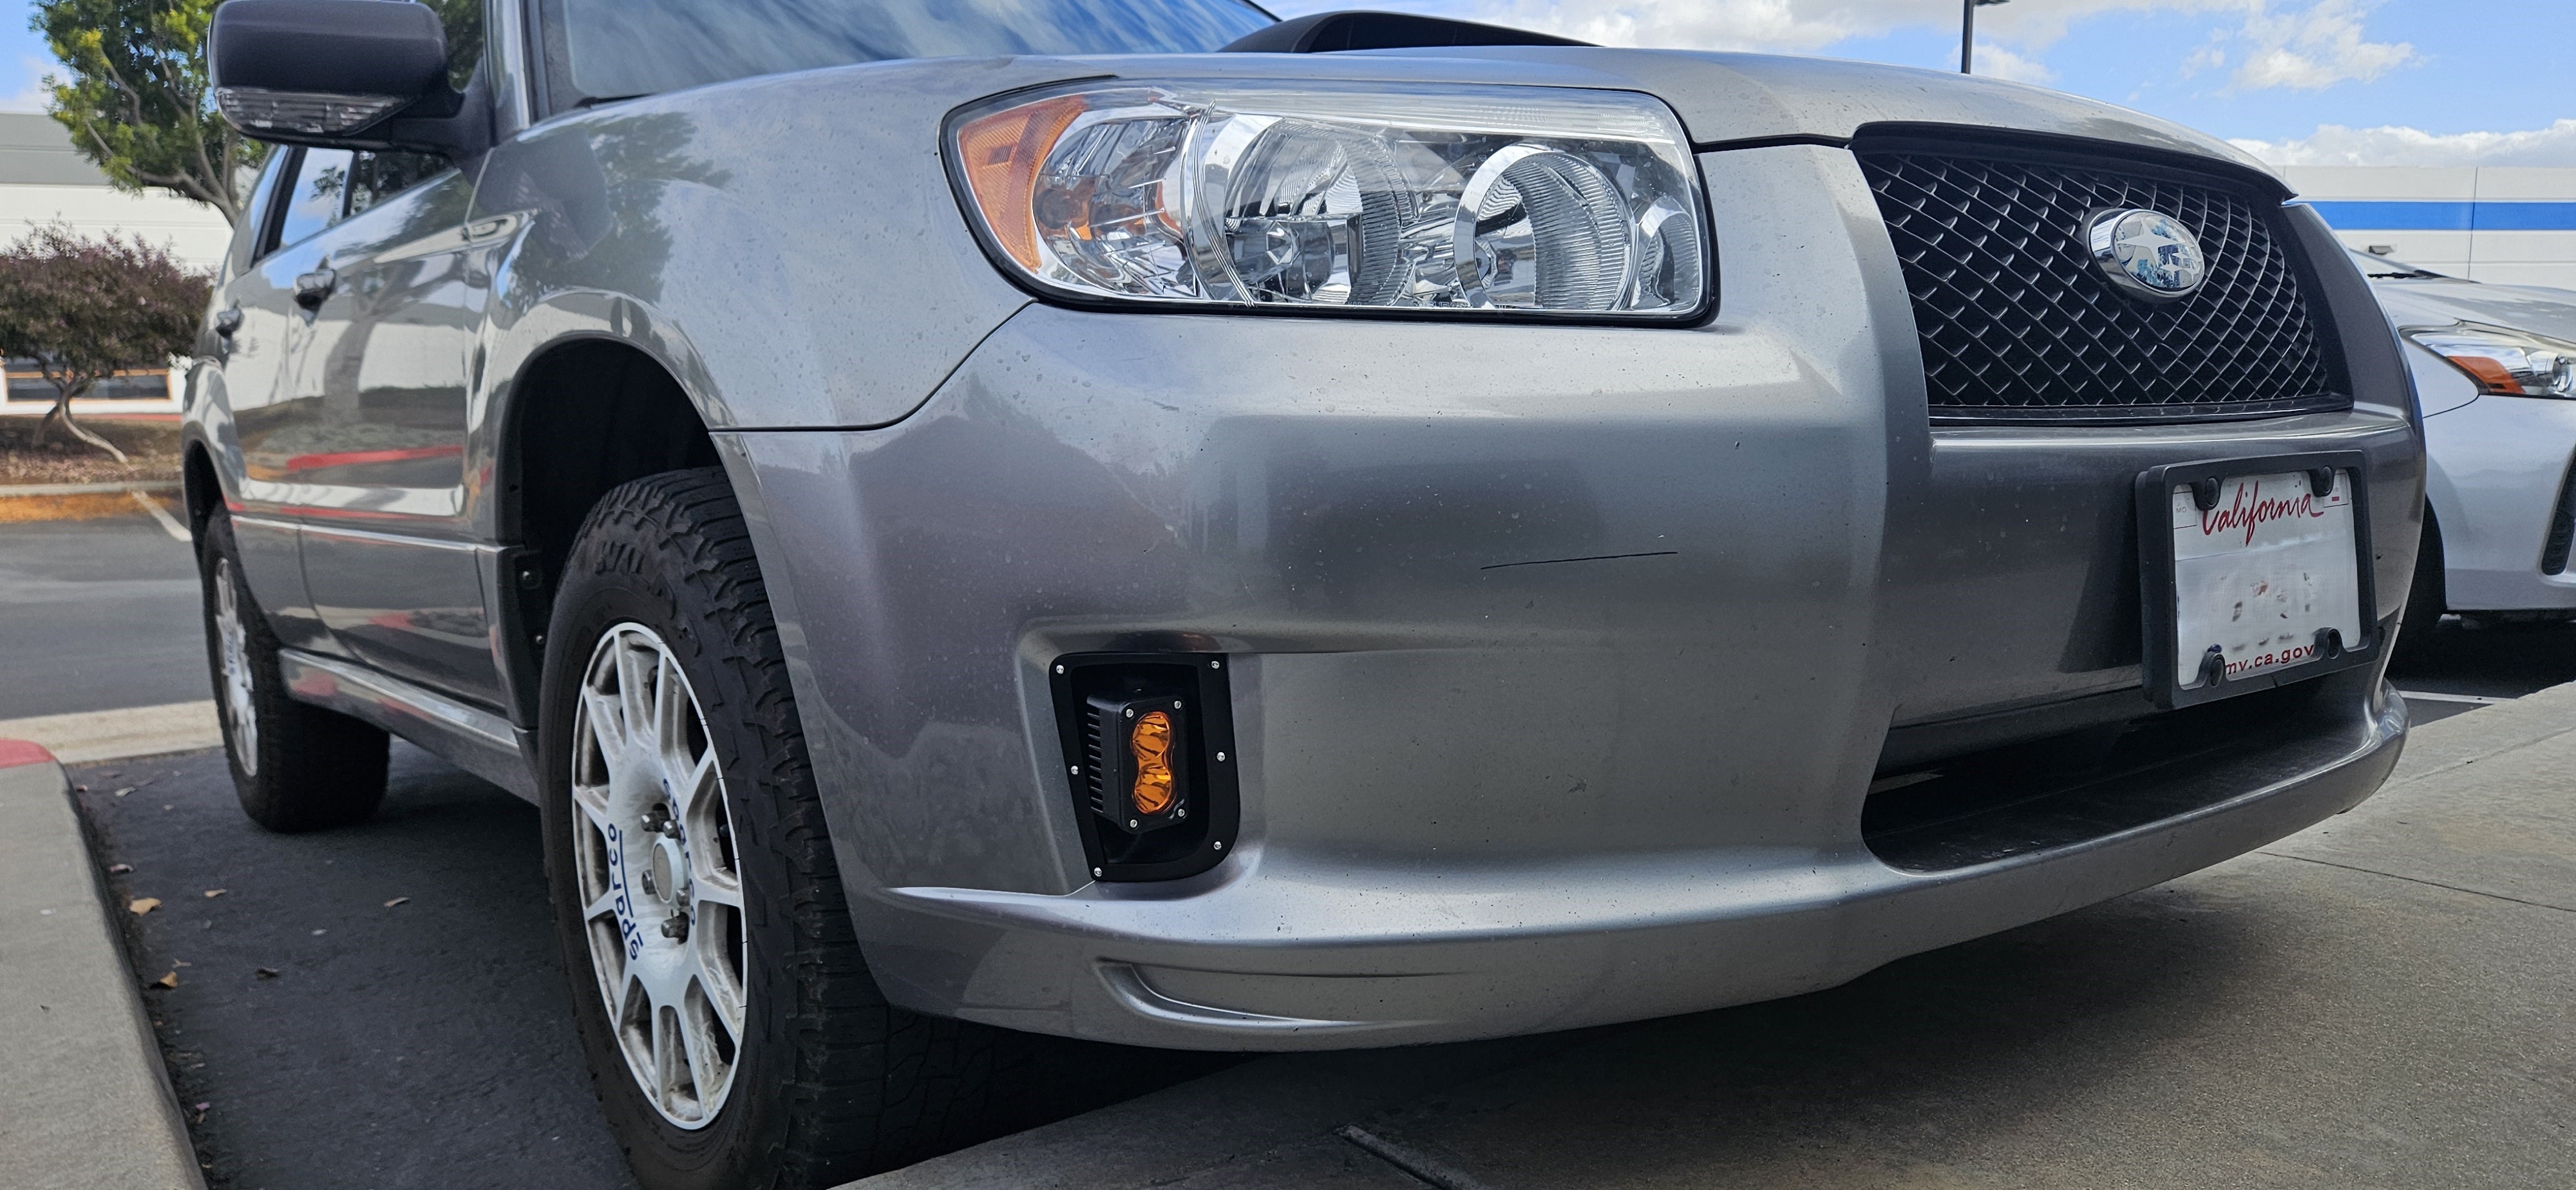
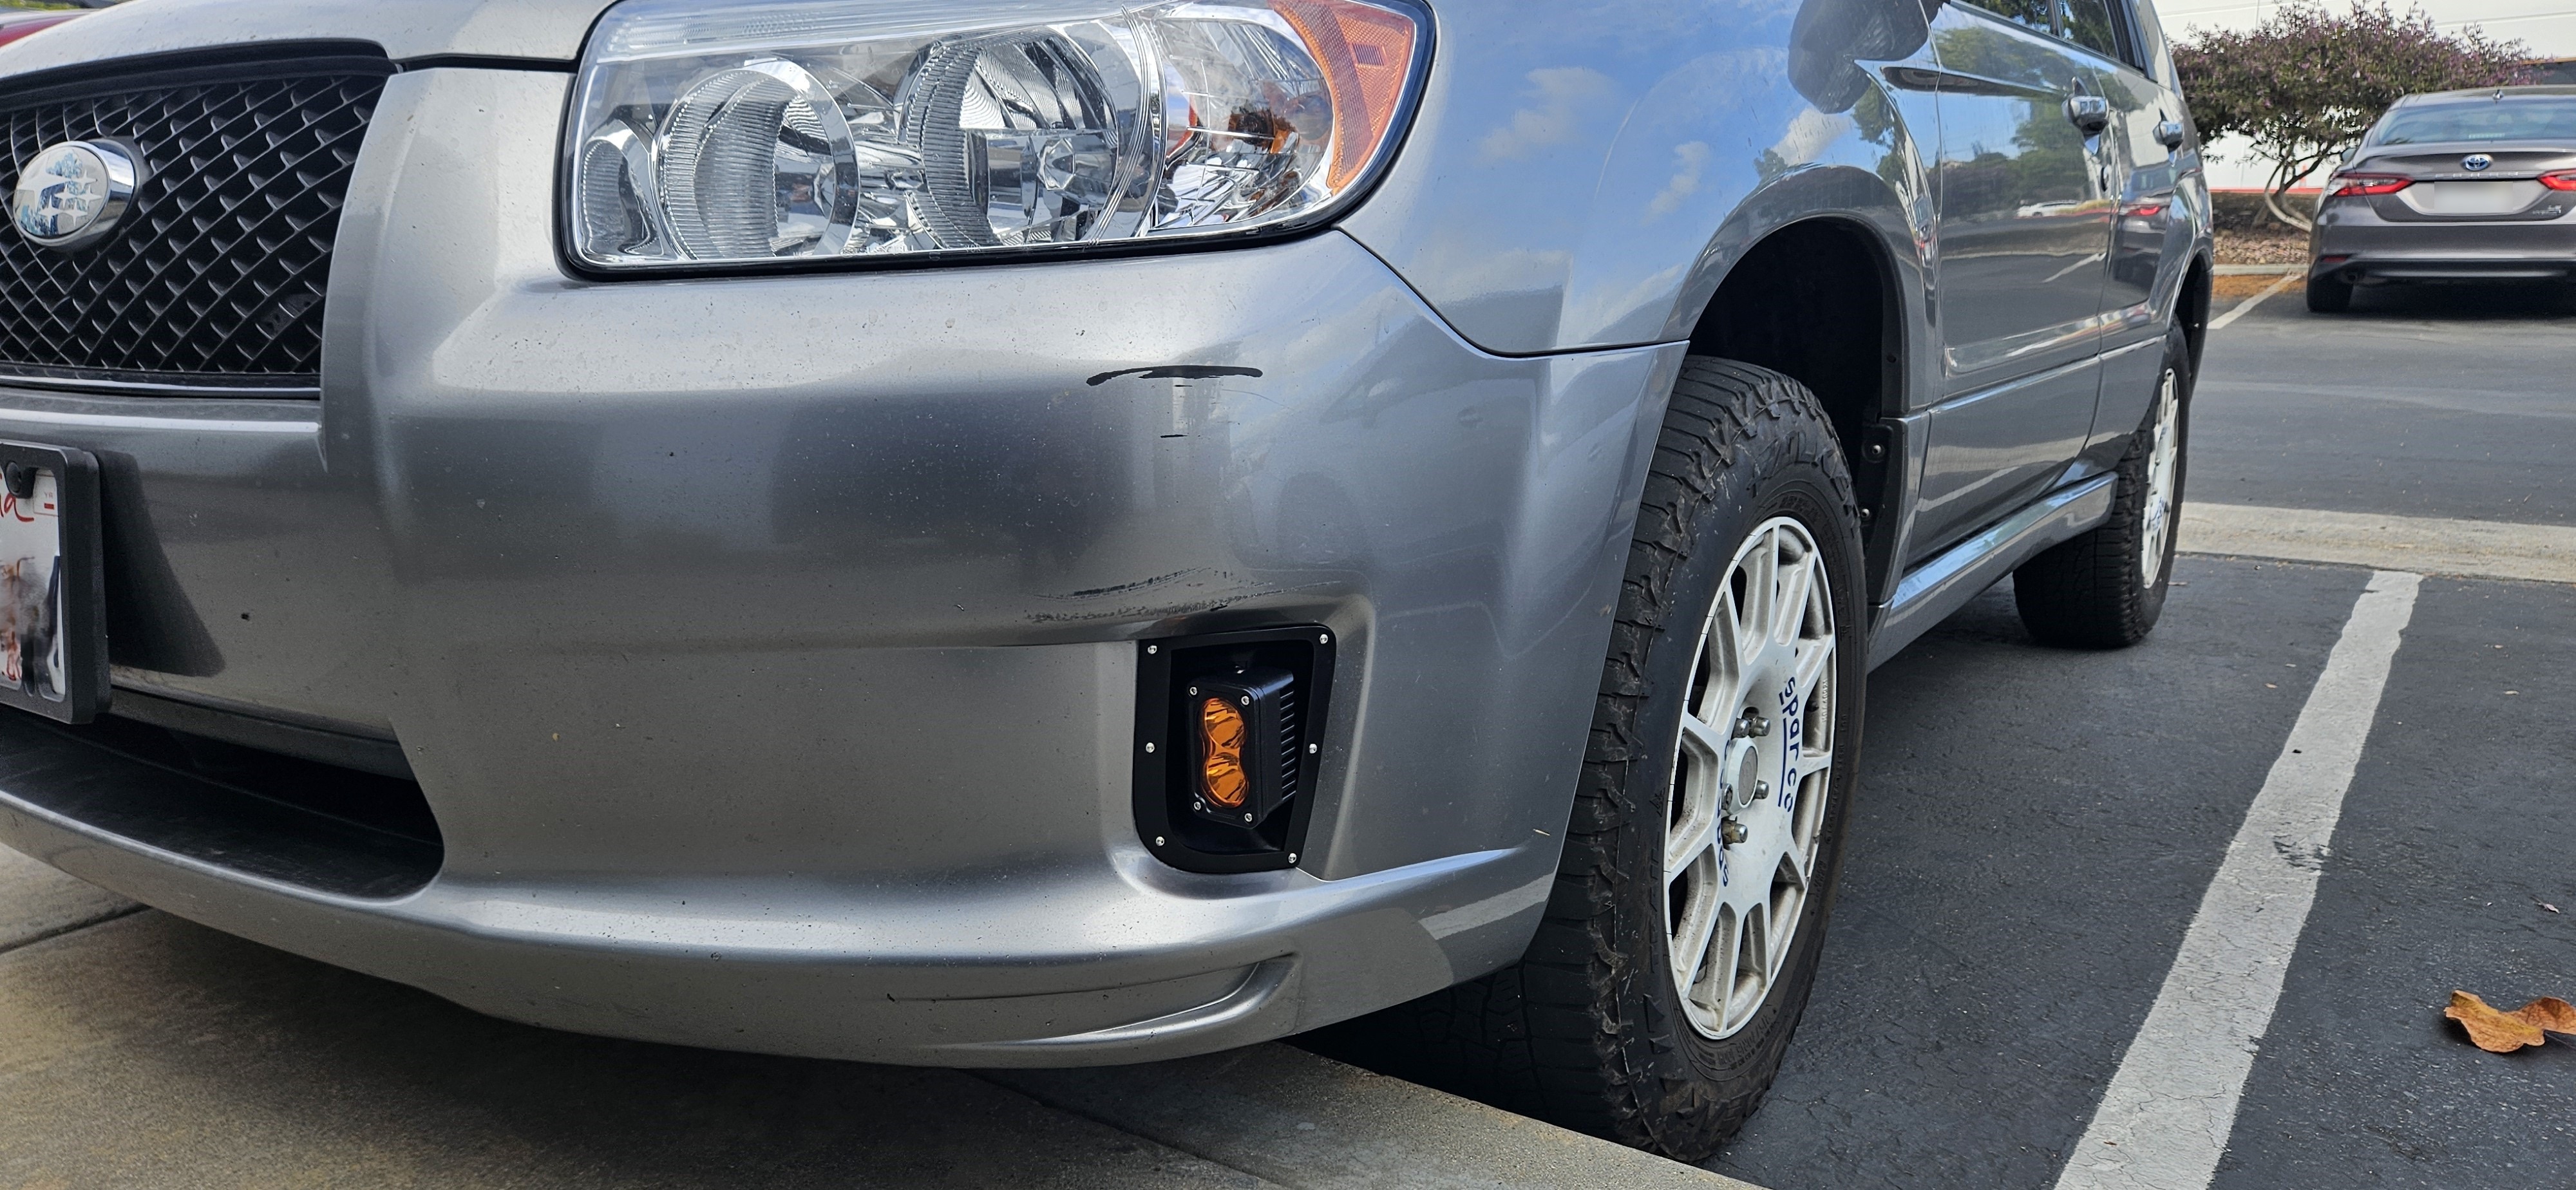
A custom-designed amber light kit that flush-mounts into the 2006–2008 Subaru Forester Sports bumper. The only light housing designed specifically for the Forester SG Sports model, for a clean, factory-like installation.
Two ways to build it:
The printed parts are identical either way — the same four pieces from the same files. The only difference is the light you put in them.
- Copy mine — the 3-inch amber LED pods listed below, wired to the factory harness. Nothing to work out; follow the installation guide.
- Bring your own light — the housing takes a range of small pods. Check yours against the bracket spec first, then follow the DIY installation guide, which covers wiring your own light to the harness.
Vehicle Fitment:
2006 - 2008 Subaru Forester Sports (SG w/ Facelift)
Free — Open Source
Released under CC BY-NC-SA 4.0 — build it, remix it, share it with attribution; no commercial use.
Key Features:
Perfect Fit
Seamlessly integrates into the Sports bumper fog light holes.
Your Light or Mine
Pre-wired to the factory harness, or fit any pod that meets the bracket spec.
Adjustable Beam
Vertical and horizontal articulation to fine-tune your light's aim.
High-Quality Materials
ASA Plastic and Stainless Steel for durability and UV resistance.
What You Print:
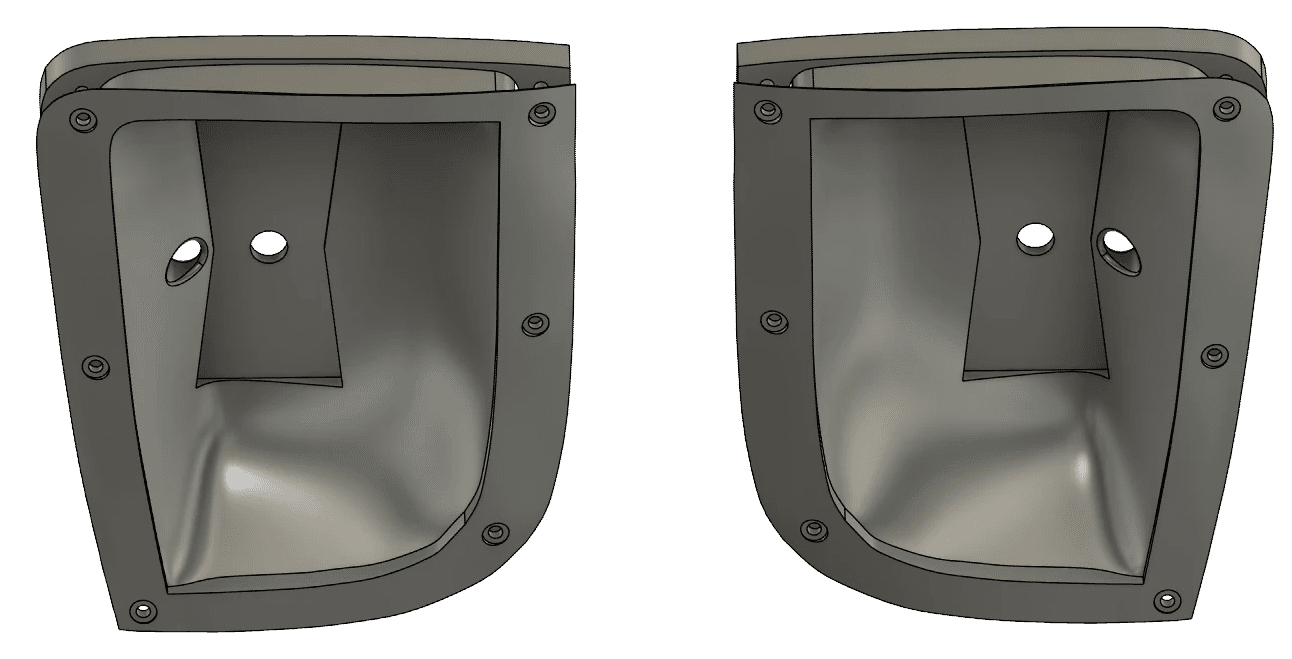
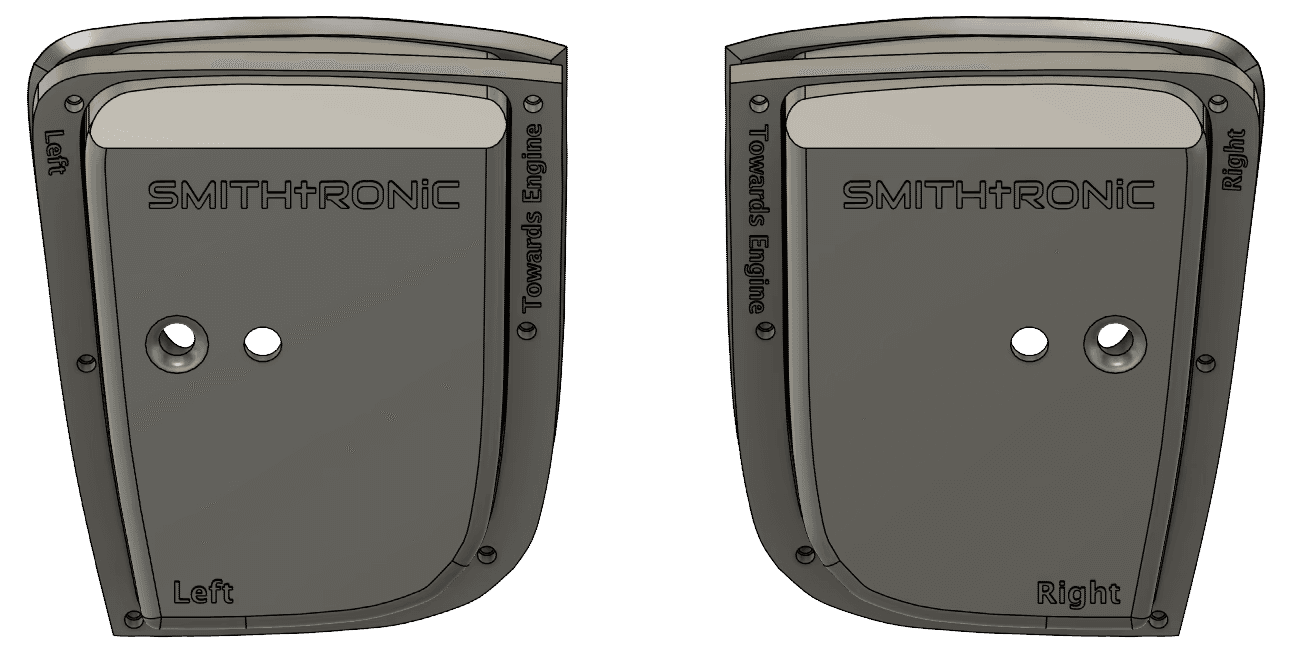
- 2 ASA-Printed Housings
- 2 ASA-Printed Retainers with Brass Heat Inserts
Four parts total, printed in ASA, finished, and fitted with heat-set inserts. Printing them takes about a day and a half of machine time — roughly 1 day 8 hours for the pair of housings and 2½ hours for the retainers.
What You'll Need to Supply:
The first three apply to either build. The last one depends on which light you're fitting.
- The relay and switch are OEM Subaru parts — easily acquired through Subaru or other retailers.
- Fog Light Relay
- Part Number: 82501AE03A
- Fog Light Switch
- Part Number: 83001SA000
- 12× brass M3 heat-set inserts, 12× M3×25 button-head bolts, and two 9005 connectors — the full bill of materials names the exact products I used, and a stainless alternative.
- The lights themselves. Either the pair of 3-inch amber LED spot pods I used, or a light of your own that meets the bracket spec below.
Light Compatibility — read this before printing if you're bringing your own:
The housing takes a wide range of small pods, but your light's bracket has to work with the articulation cutout:
- Single through-bolt mount — the bracket has to attach with one bolt passing through the center hole of the housing, secured with a nut behind it.
- Maximum bracket size: 64.5 mm tall × 23 mm wide — the largest bracket that still rotates through its full vertical travel without its corners catching the edge of the cutout.
- A bracket that is narrower but still at maximum height can still interfere, because a narrower bracket gets a wider range of rotation.
- 9005 male connector, two wires — that is what the factory harness plugs into. Most lights won't come with one, so expect to cut the light's own connector off and solder the 9005 end on; it also has to pass through the wire hole in the housing.
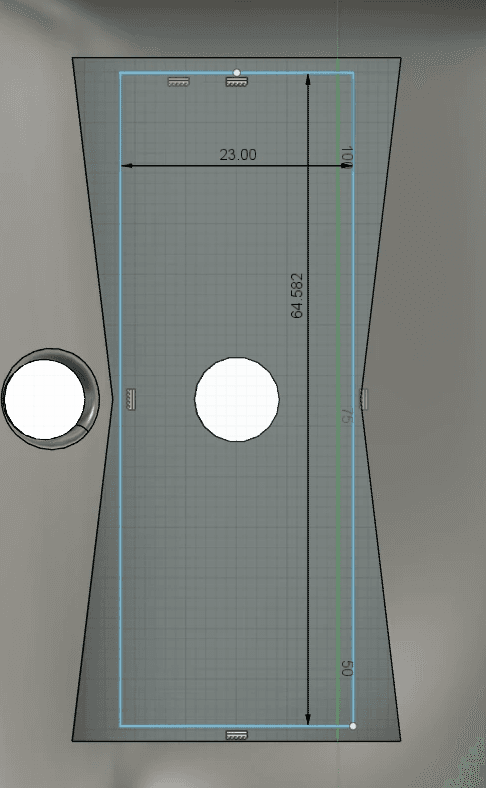
If nothing you like fits inside that envelope, the Fusion 360 source is published — reshape the bracket pocket around your light instead of hunting for a light that suits mine. The specifications in the DIY installation guide have the full detail.
Make It Yourself:
- Print settings — the production Bambu Studio projects, with the exact layer heights, orientation, and painted supports I used.
- Bill of materials — hardware, OEM part numbers, and the specific lights, connectors, and bolts that go into a set.
- Finishing guide — the sand, high-build primer, and satin black process that gave the parts their factory look.
- CAD source — the Fusion 360 file, so you can reshape the housing around a light that doesn't meet the bracket spec.
FAQs:
Where do I get the files?
Everything printable is free on Thingiverse, and the full source — CAD, print settings, and documentation — lives on GitHub. Print a set yourself or have someone print it for you; apart from the off-the-shelf hardware, everything you need is in the files.
How long does a set take to print?
About a day and a half of machine time per set — roughly 1 day 8 hours for the pair of housings (they print at 0.08 mm, tilted 45°) and about 2½ hours for the pair of retainers.
What lights will fit?
Anything that mounts with a single bolt through its bracket and stays within 64.5 mm tall by 23 mm wide at that bracket. Measure yours against the size diagram above — and keep in mind that a narrow bracket at full height can still catch the cutout as it rotates.
Are these lights SAE approved?
The lights used in this set do not specifically state whether they are SAE approved. As such, I cannot confirm their compliance and assume no responsibility for how you choose to use them. Please ensure your application complies with local regulations.
Why did you use these spot style LEDs instead of a flood style?
The size and shape of the hole first directed me to a 3x1.5-inch light, as it fills out the space well and, in my opinion, flows with the lines of the vehicle.
I initially found these lights in a flood style, but the flood pattern would only work if the lights were mounted horizontally. To keep them mounted vertically and close to the body of the vehicle, while minimally protruding out from the bumper, I chose the spot style instead.
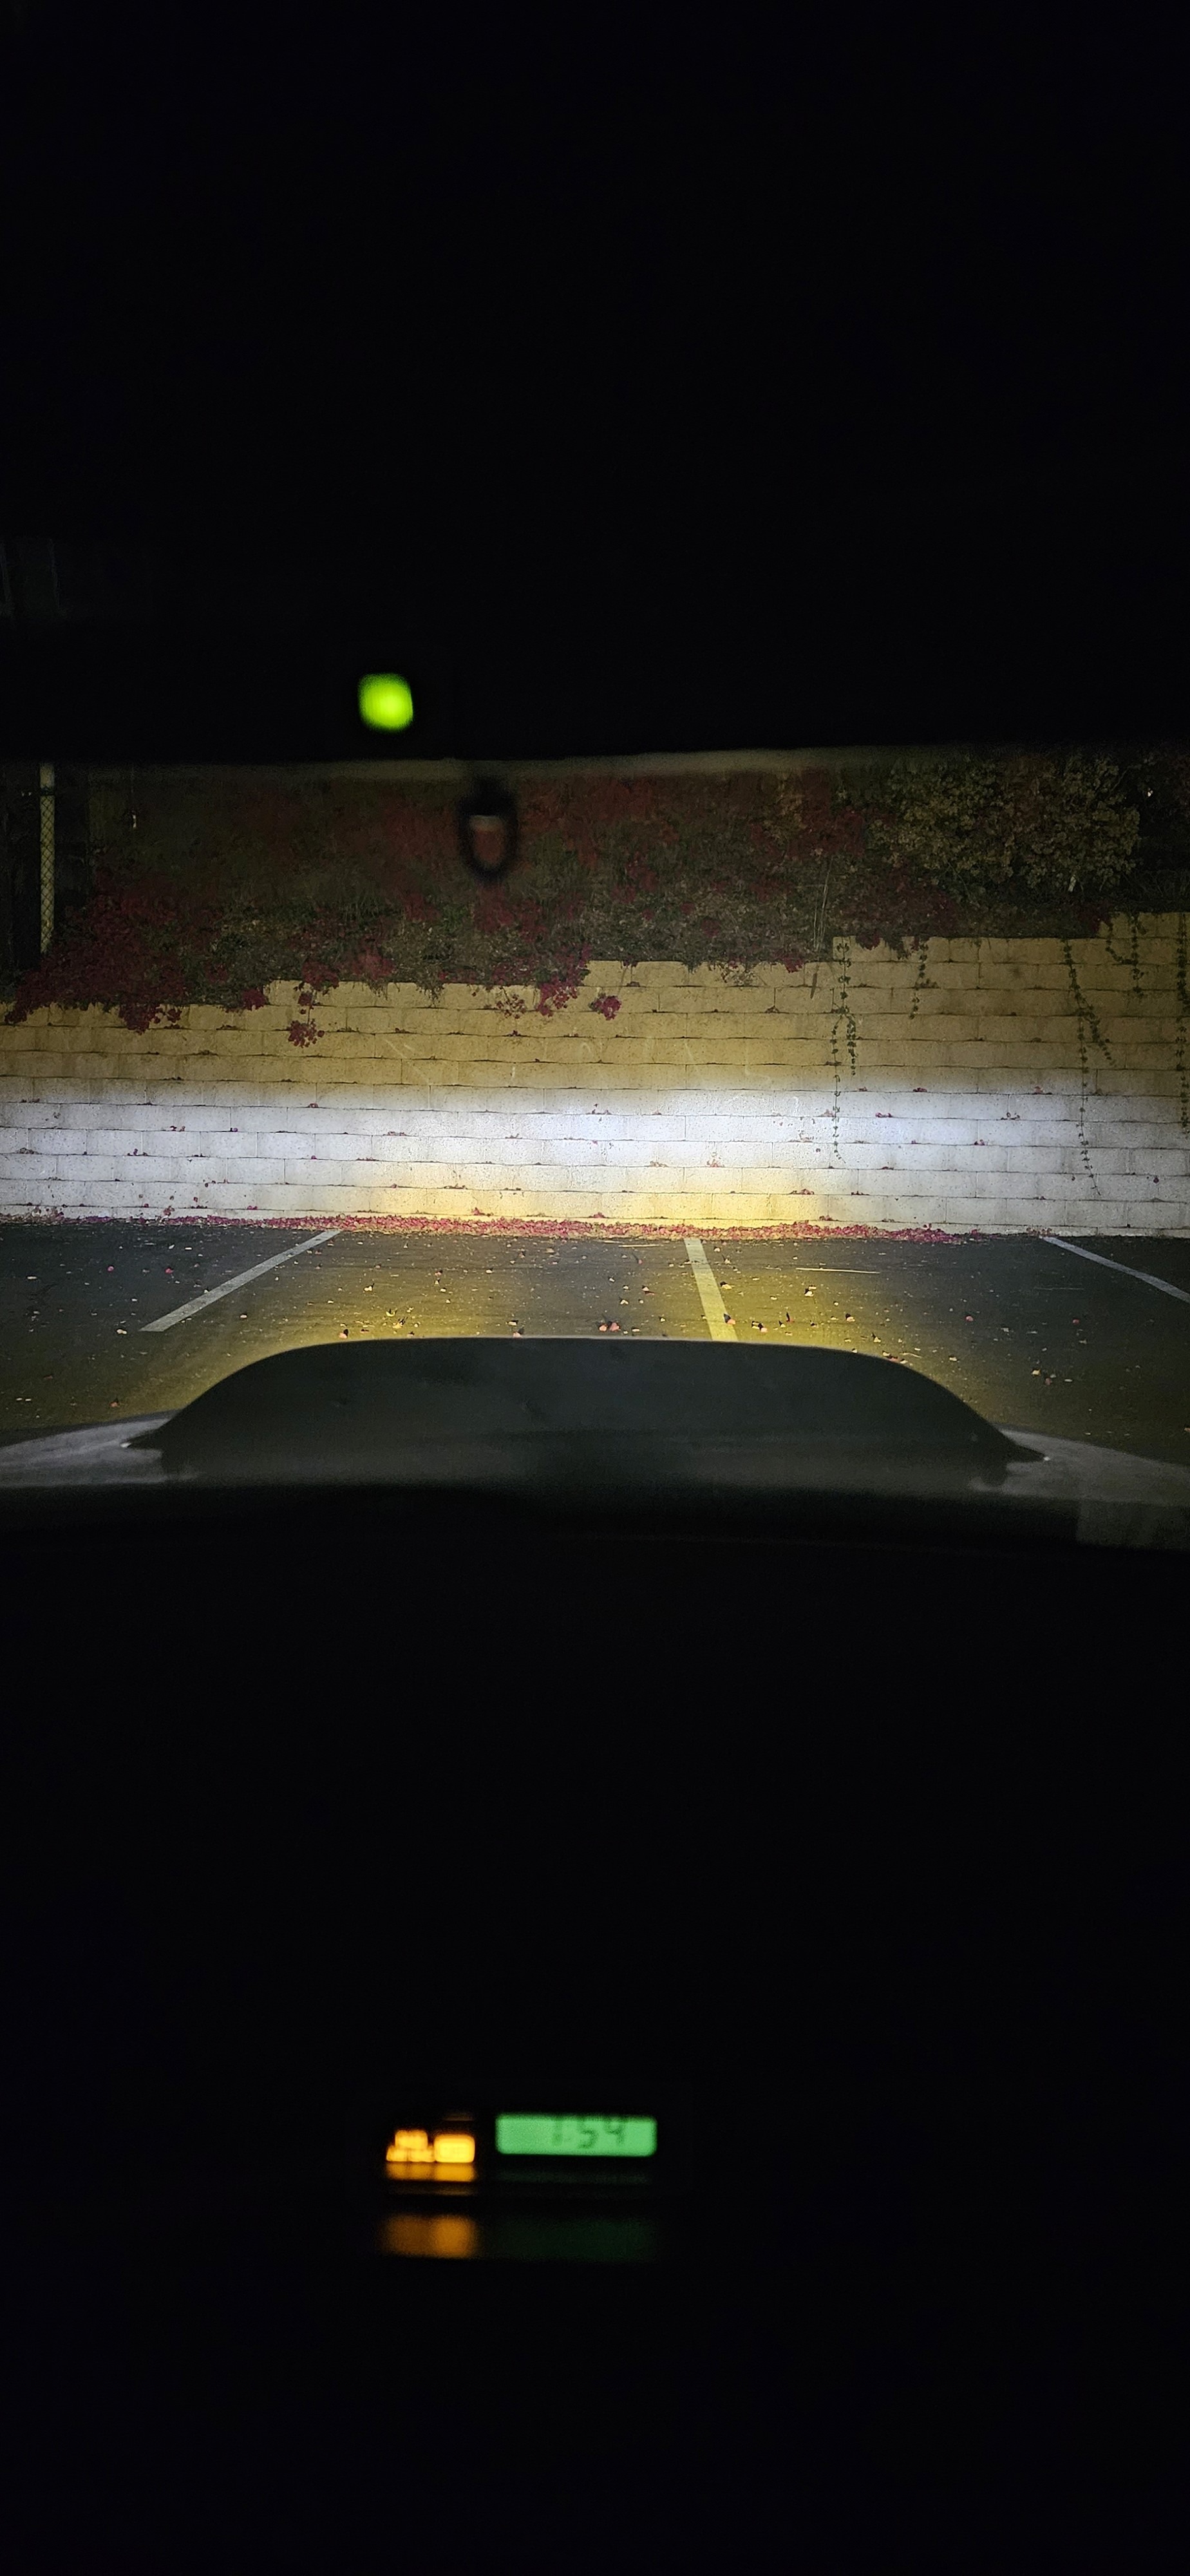
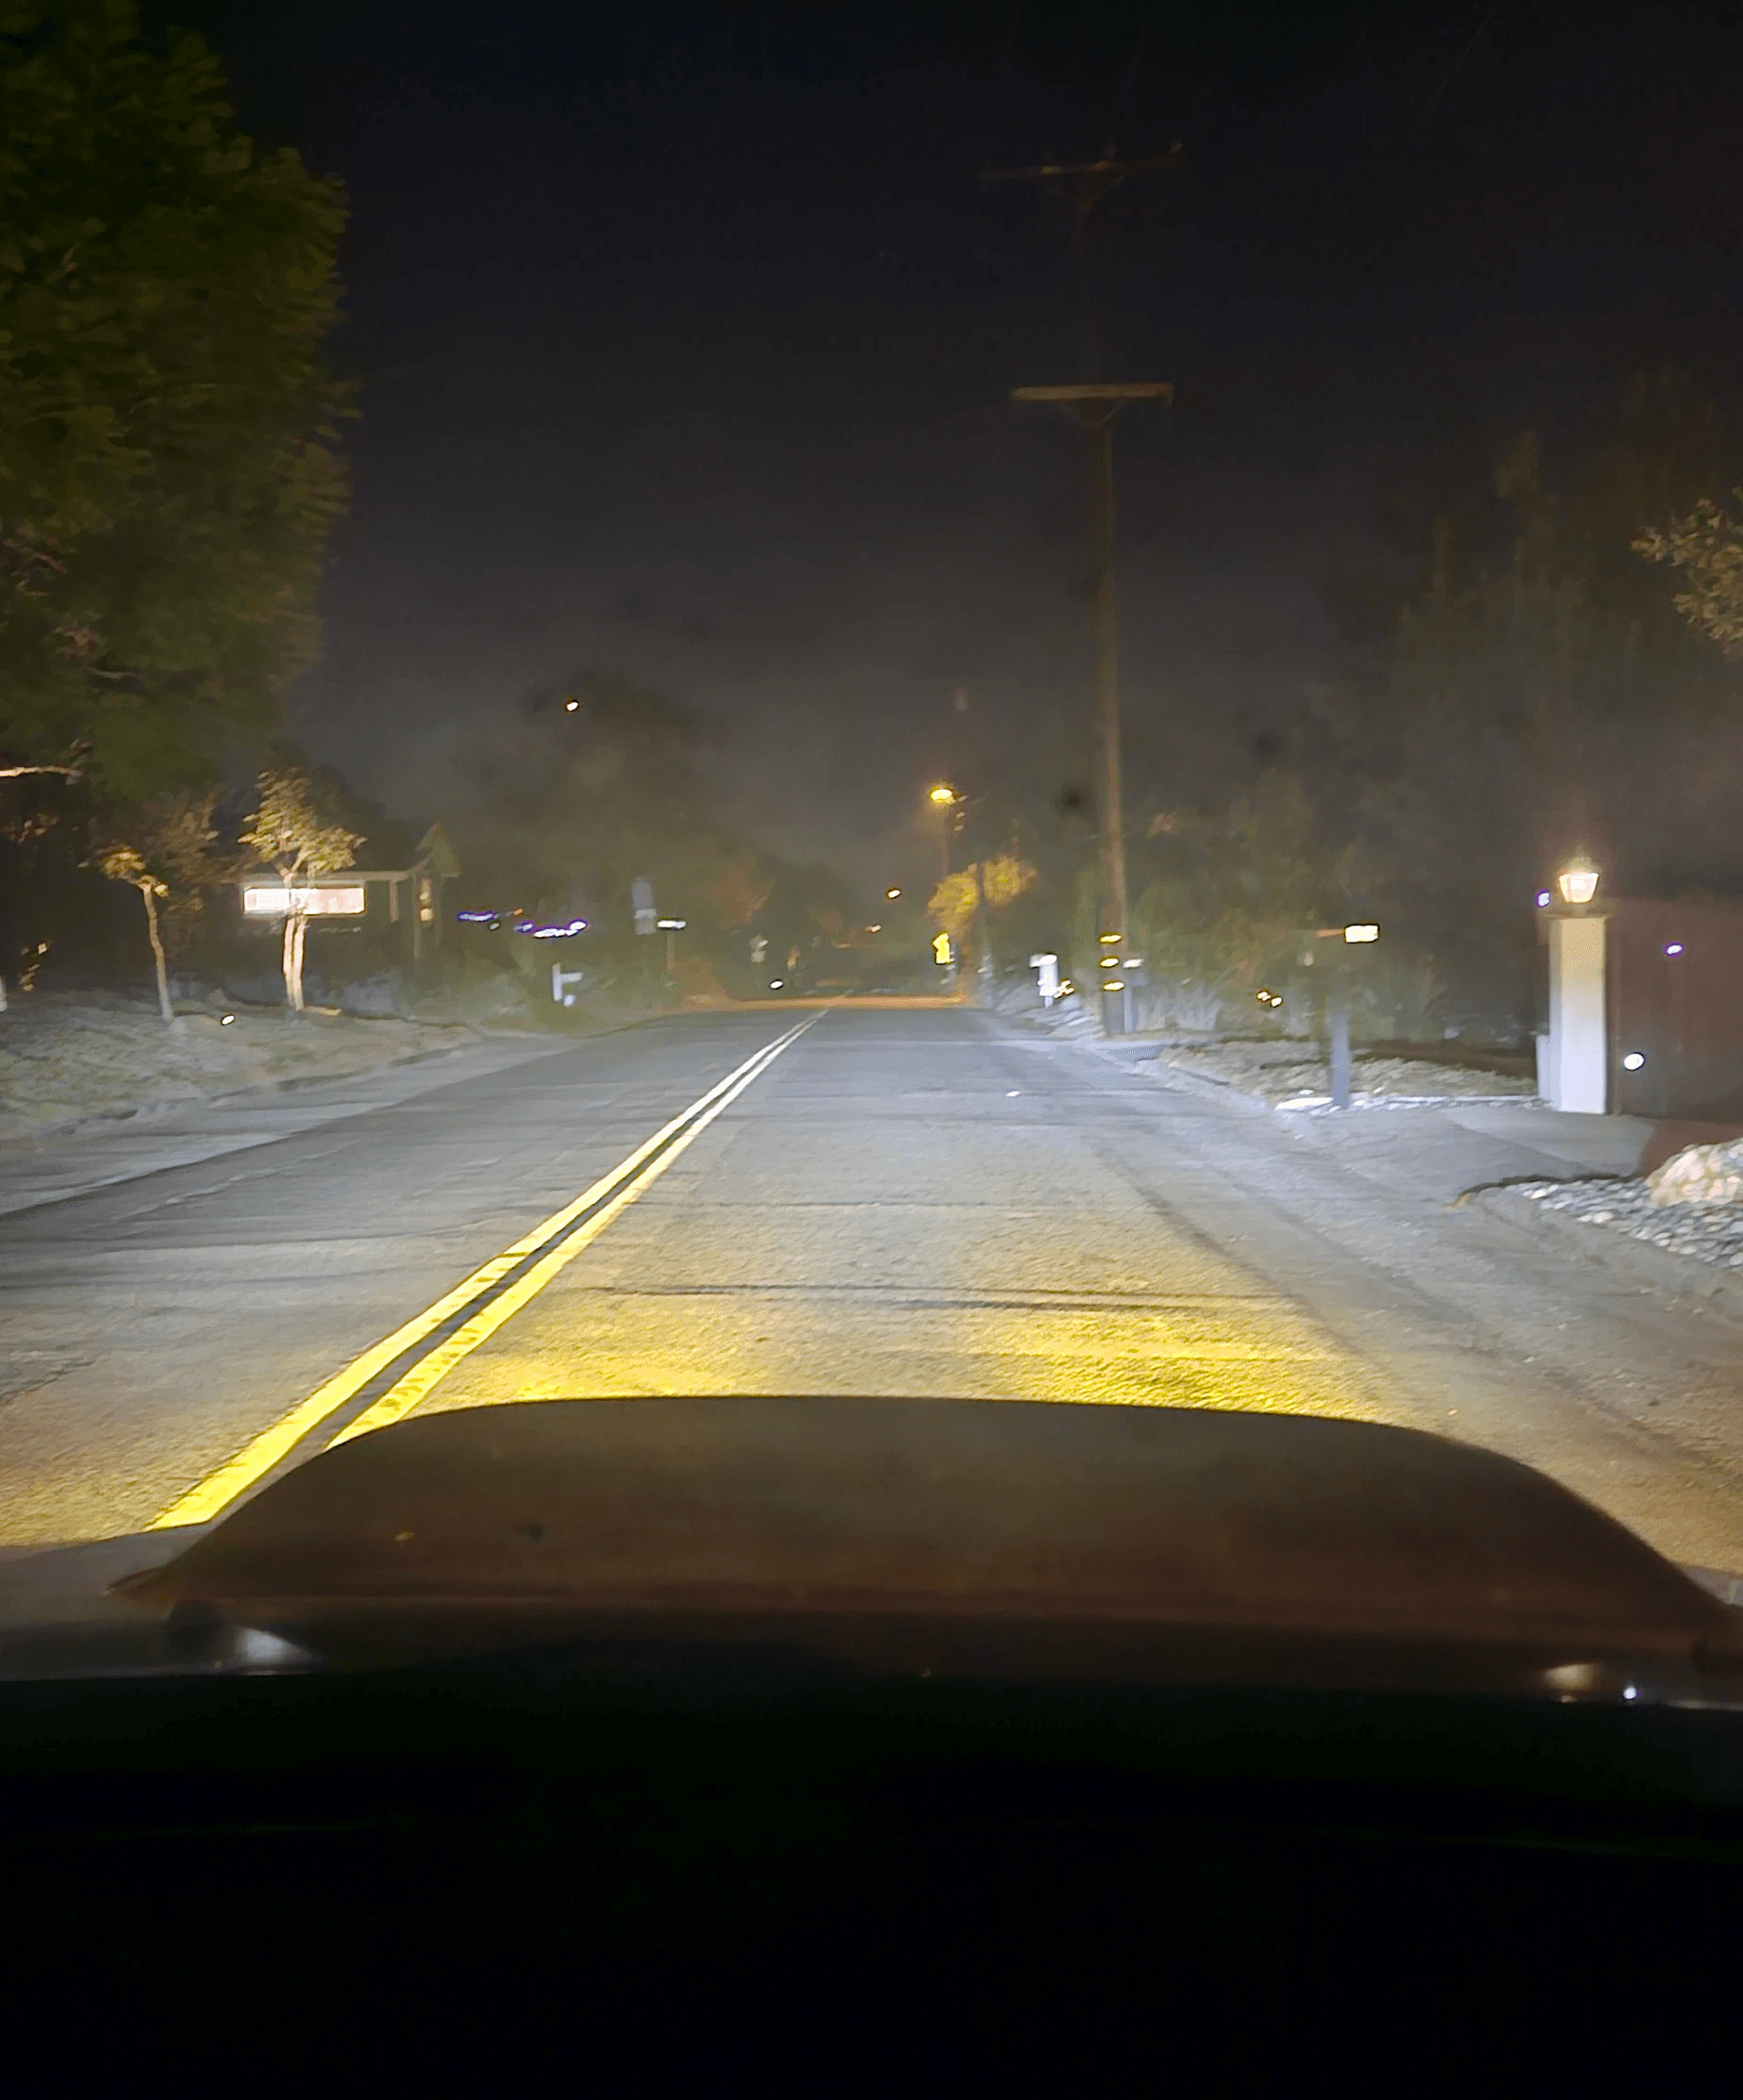
The articulation in the design allows the spot beam to be pointed where the flood pattern would send light—just below the headlight beam, although it may not be as wide of a spread.
Will you do custom design work to make sure the light I choose will fit?
I used to offer that as a paid service, and I don't anymore. Instead, the Fusion 360 source file is published alongside the models, so you can reshape the housing around your own light yourself — or hand the file to someone who models. That covers what the service did, without waiting on me.
If you build something interesting with it, I'd like to see it.